Today, it’s pretty easy to build your Scratch Org definition file when you know what Settings you want to activate, as they are mapped with the same setting names from the Metadata API. But what happens when you want to activate a new setting that has either not yet been documented or that has a weird technical name that you can’t relate to the actual feature ? Let’s have a look on how to find it !
Give me that setting
You may be very excited by new features, be it the new option to let you set Field-Level Security for a field on Permission Sets instead of Profiles during field creation, or the powerful new Lightning Web Security. But how do you activate them in your Scratch Orgs ? As you can see, the related setting name isn’t always listed in the Release Notes (LWS has been added recently after being asked many time in the Trailblazer Community), and finding them in the Metadata API Developer Guide can be tricky. Some settings have cryptic names, whereas some other won’t be documented until the release is out in Production environments or the feature becomes GA.
What I do is actually pretty simple:
- create an empty SFDX project
- retrieve all Settings
- commit everything with git
- change the setting I want in the Scratch Org
- retrieve again all Settings
- git will just highlight the change you want, which will be the setting you were looking for
This is pretty easy to do, whether you’re a developer or an App Builder. Let’s do it with a real life scenario.
Hands on !
Note: to follow this tutorial, you’ll need to have git, the SFDX CLI, VS Code and the Salesforce Extension Pack. If you are not familiar with these or with development with Scratch Org, I suggest you first take the App Development with Salesforce DX Trailhead module. For learning how to use git, I recommend the Git and GitHub Basics one.
We’ll go with the FLS on Permission Sets at field creation example here.
First create an empty project, either by running SFDX: Create Project from the Command Palette in VS Code, or by running the command line sfdx force:project:create -n find-sfdx-setting.
Once your project open in VS Code, initialize your git repository by running git init from the terminal, or clicking Initialize Repository in the git section of VS Code.
Create a Scratch Org by running Command + Shift + P to open the Command Palette, select Create a Default Scratch Org... and accept all default values (you could select 1 for Scratch Org expiration as you won’t use it for more than 10mn anyway).
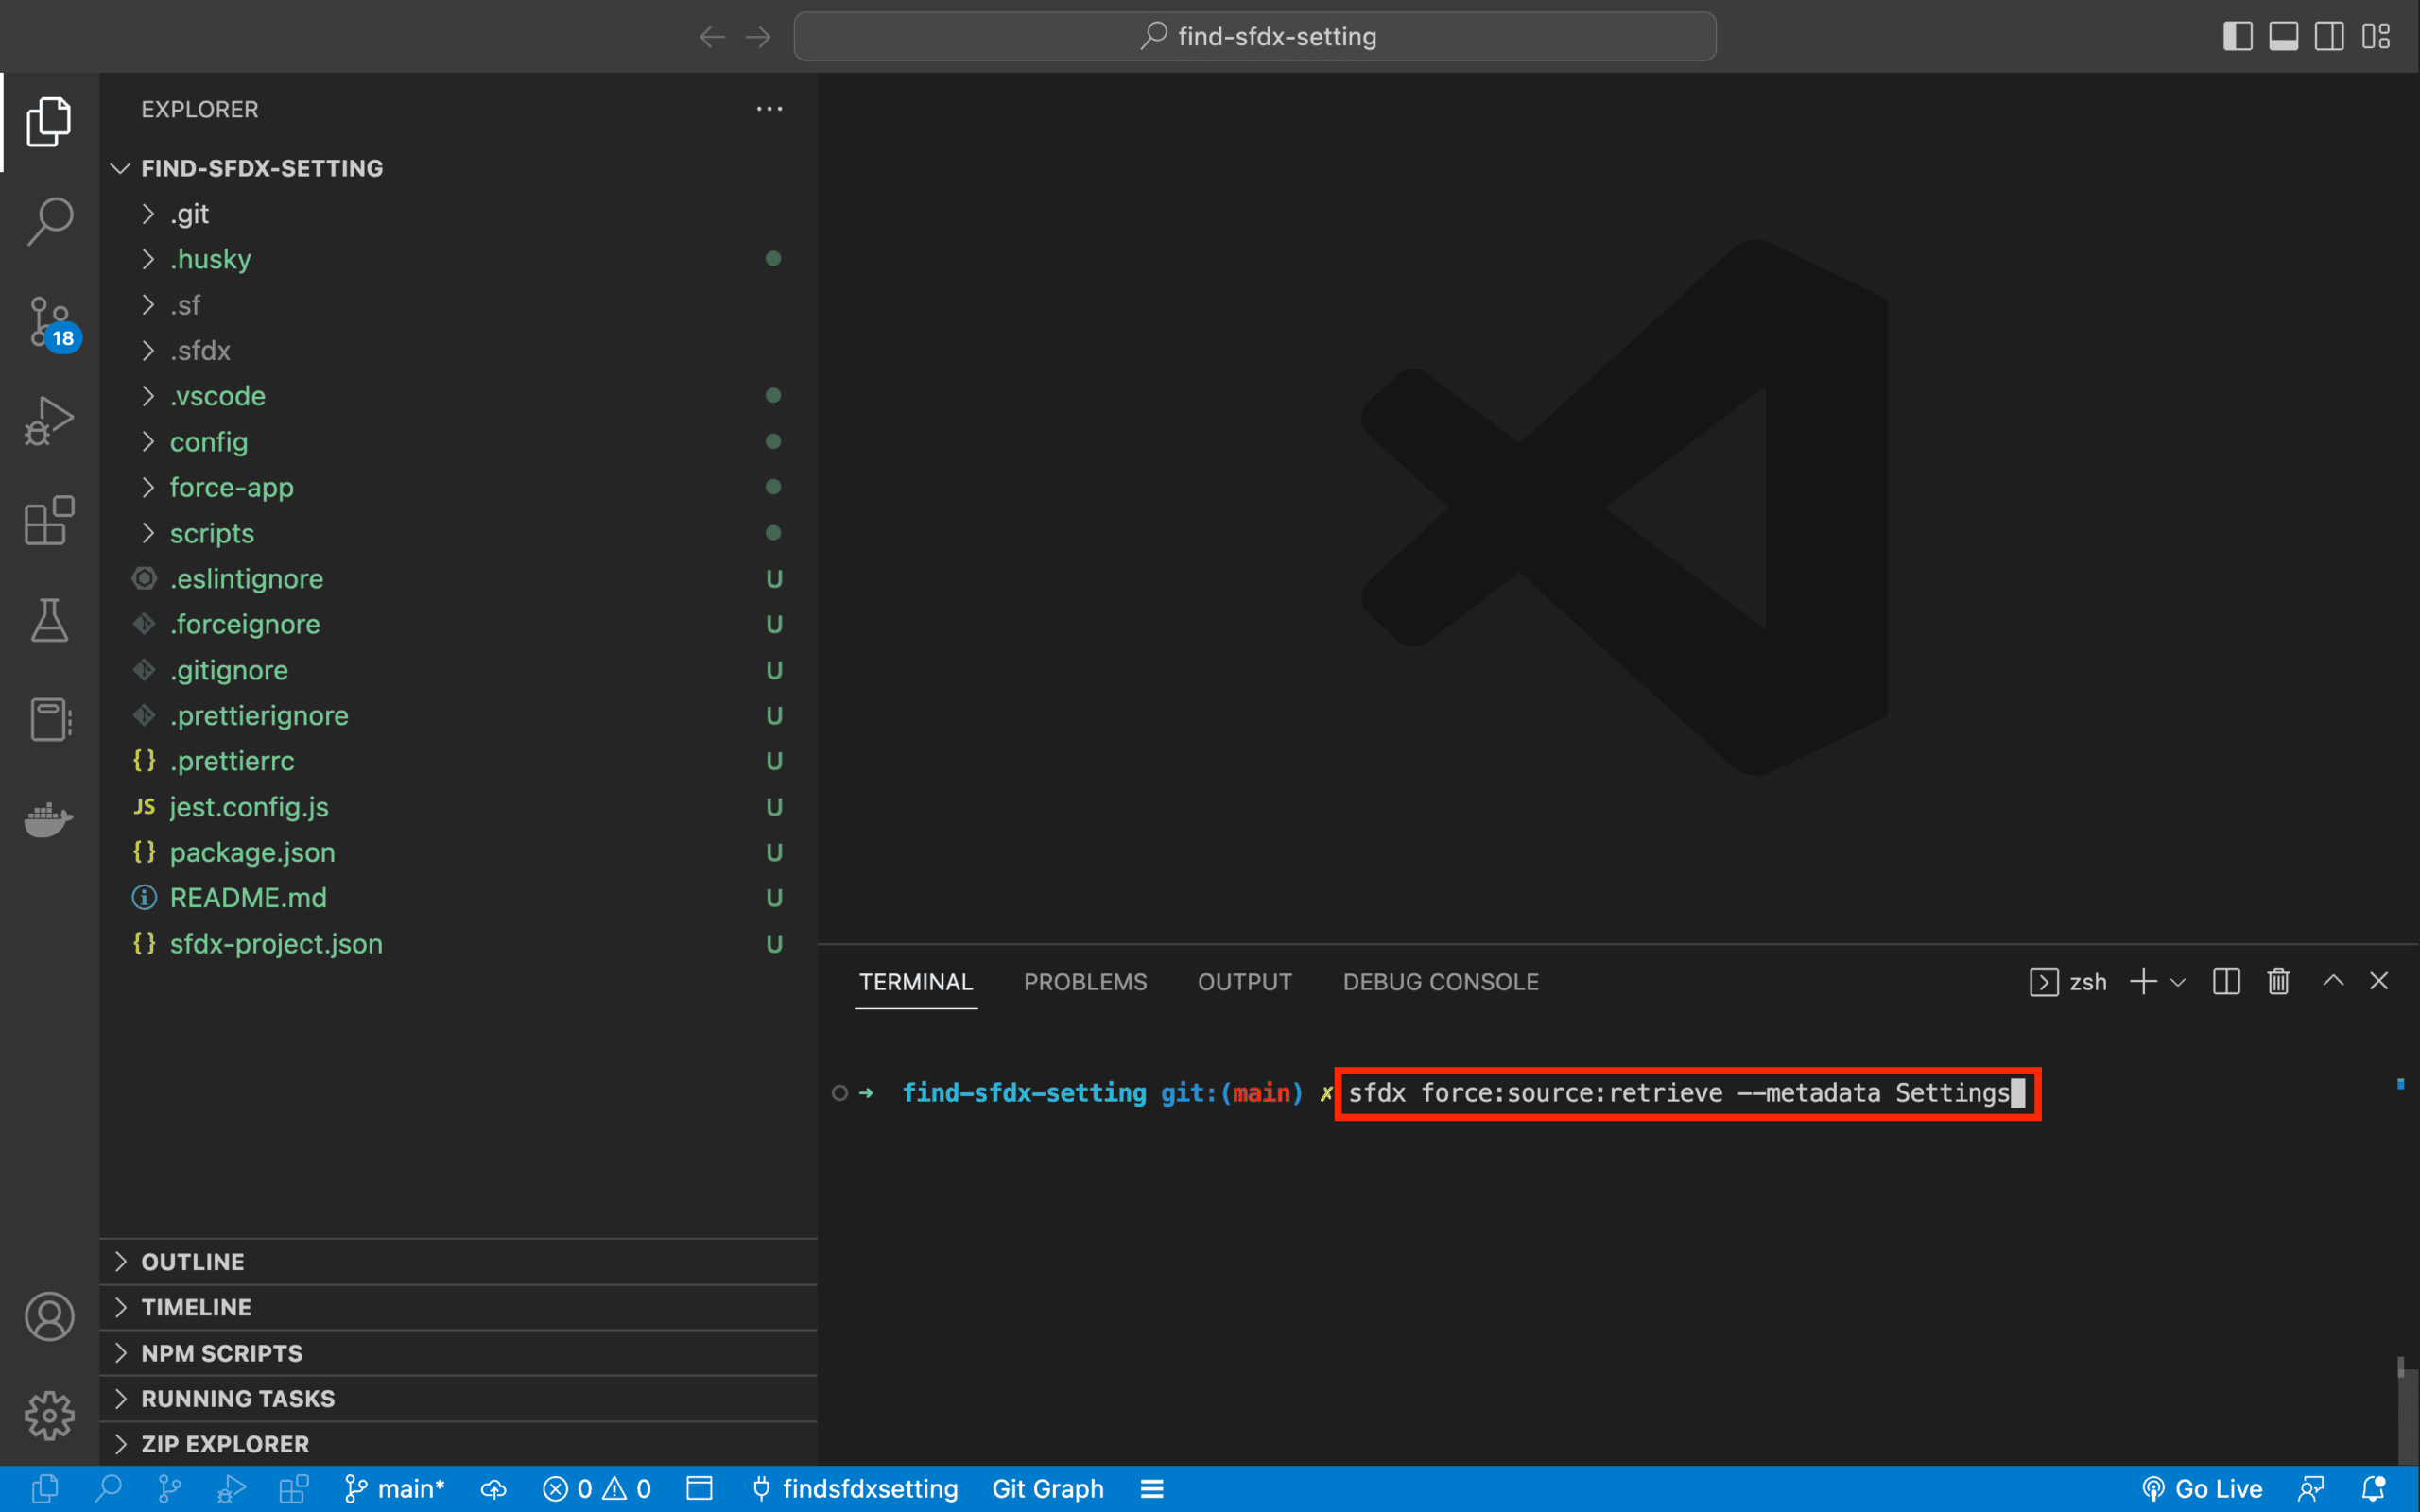
Then, once the Scratch Org is created, retrieve all existing Settings by running the command sfdx force:source:retrieve --metadata Settings.
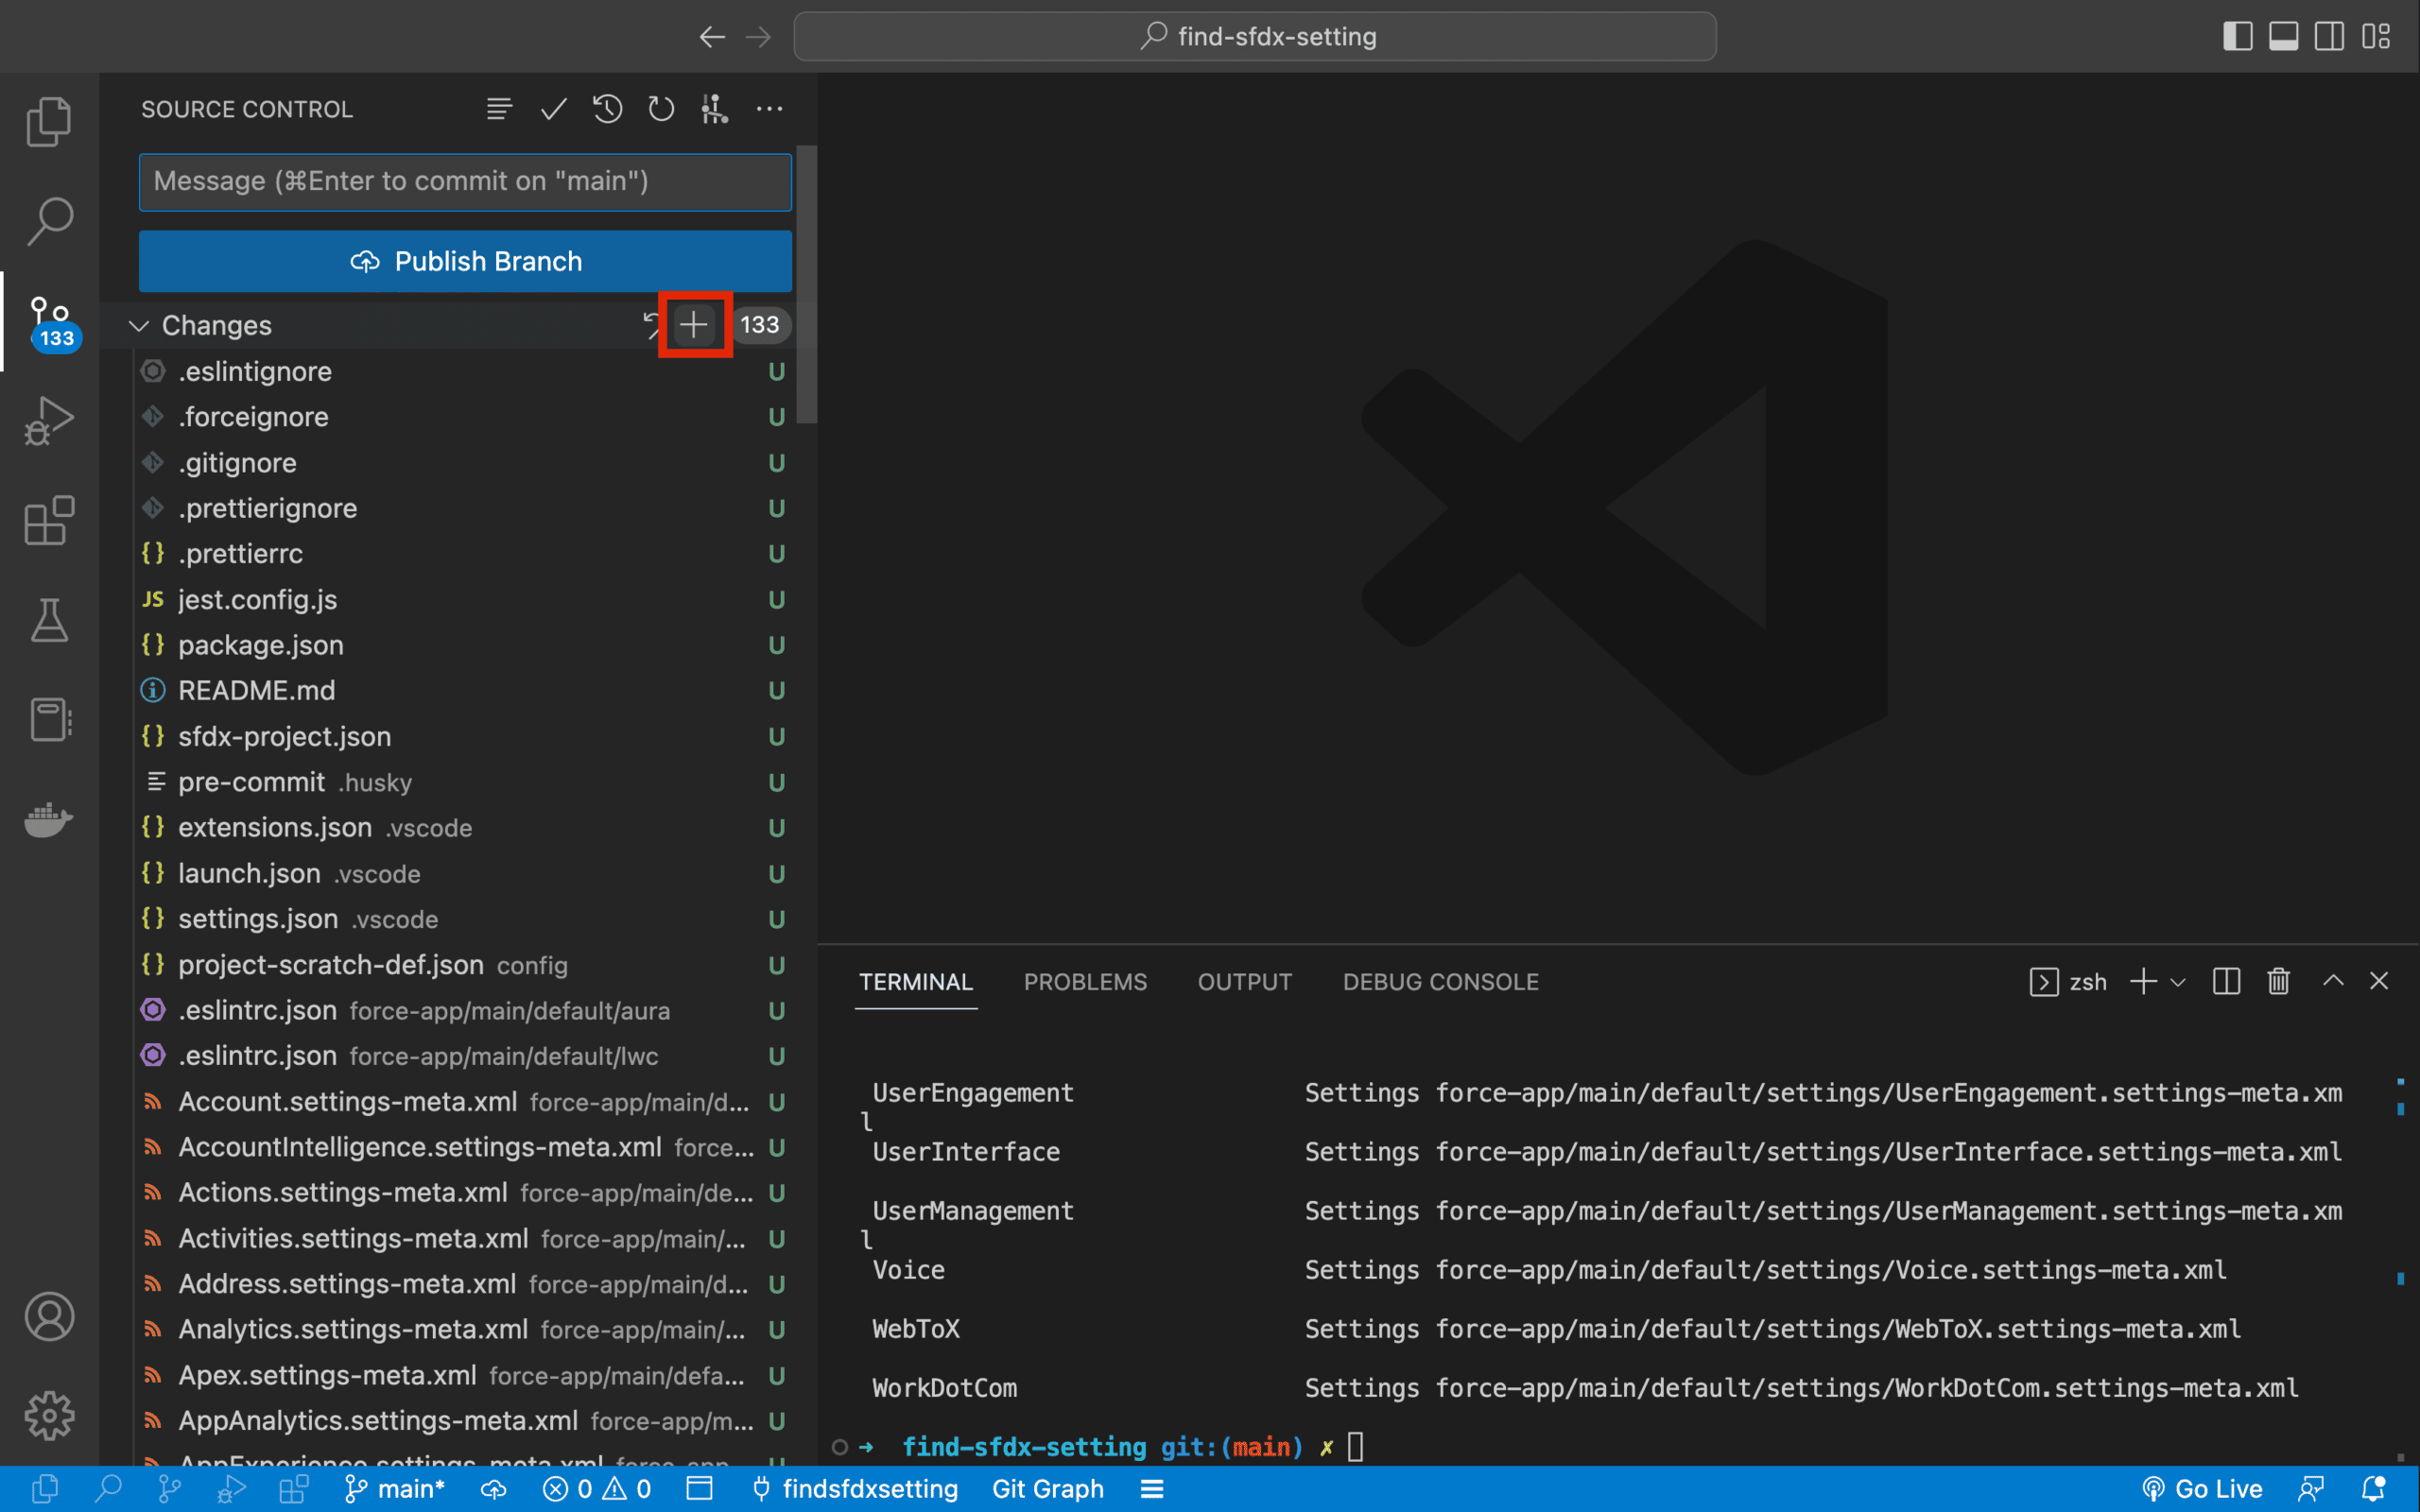
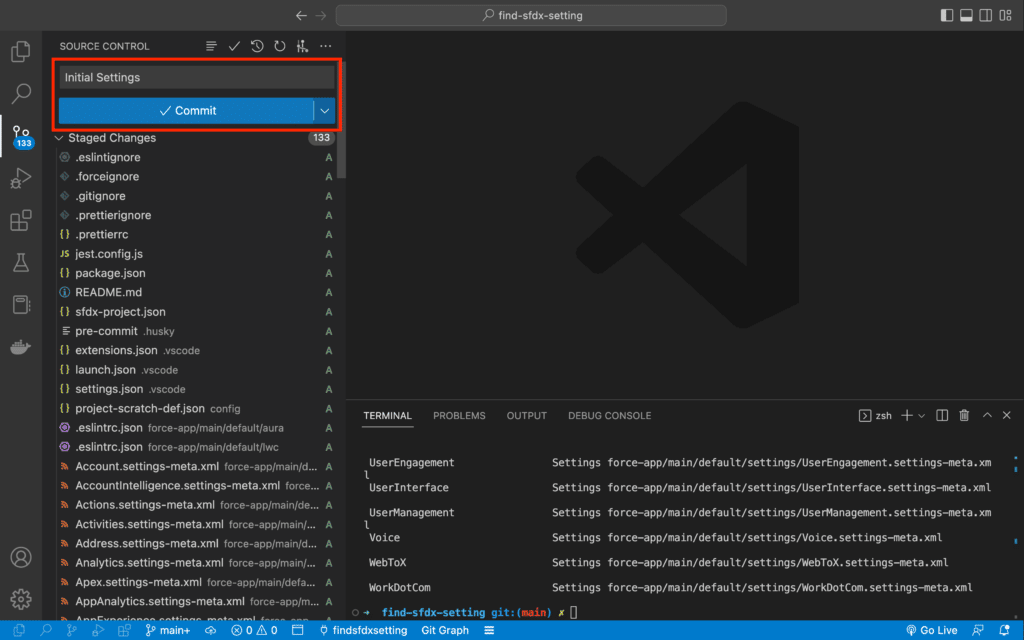
Save all these changes to git, by adding them to your staged changes and committing them. Either do it via the command line (git add . and git commit -m 'My commit message' or use the git extension in VS Code.
First add all your changes by clicking on the + button on the Changes line:
And then add a commit message and click on the Commit button:
Nexts steps with Scratch Orgs
User Management Settings and enable the Field-Level Security for Permission Sets during Field Creation setting.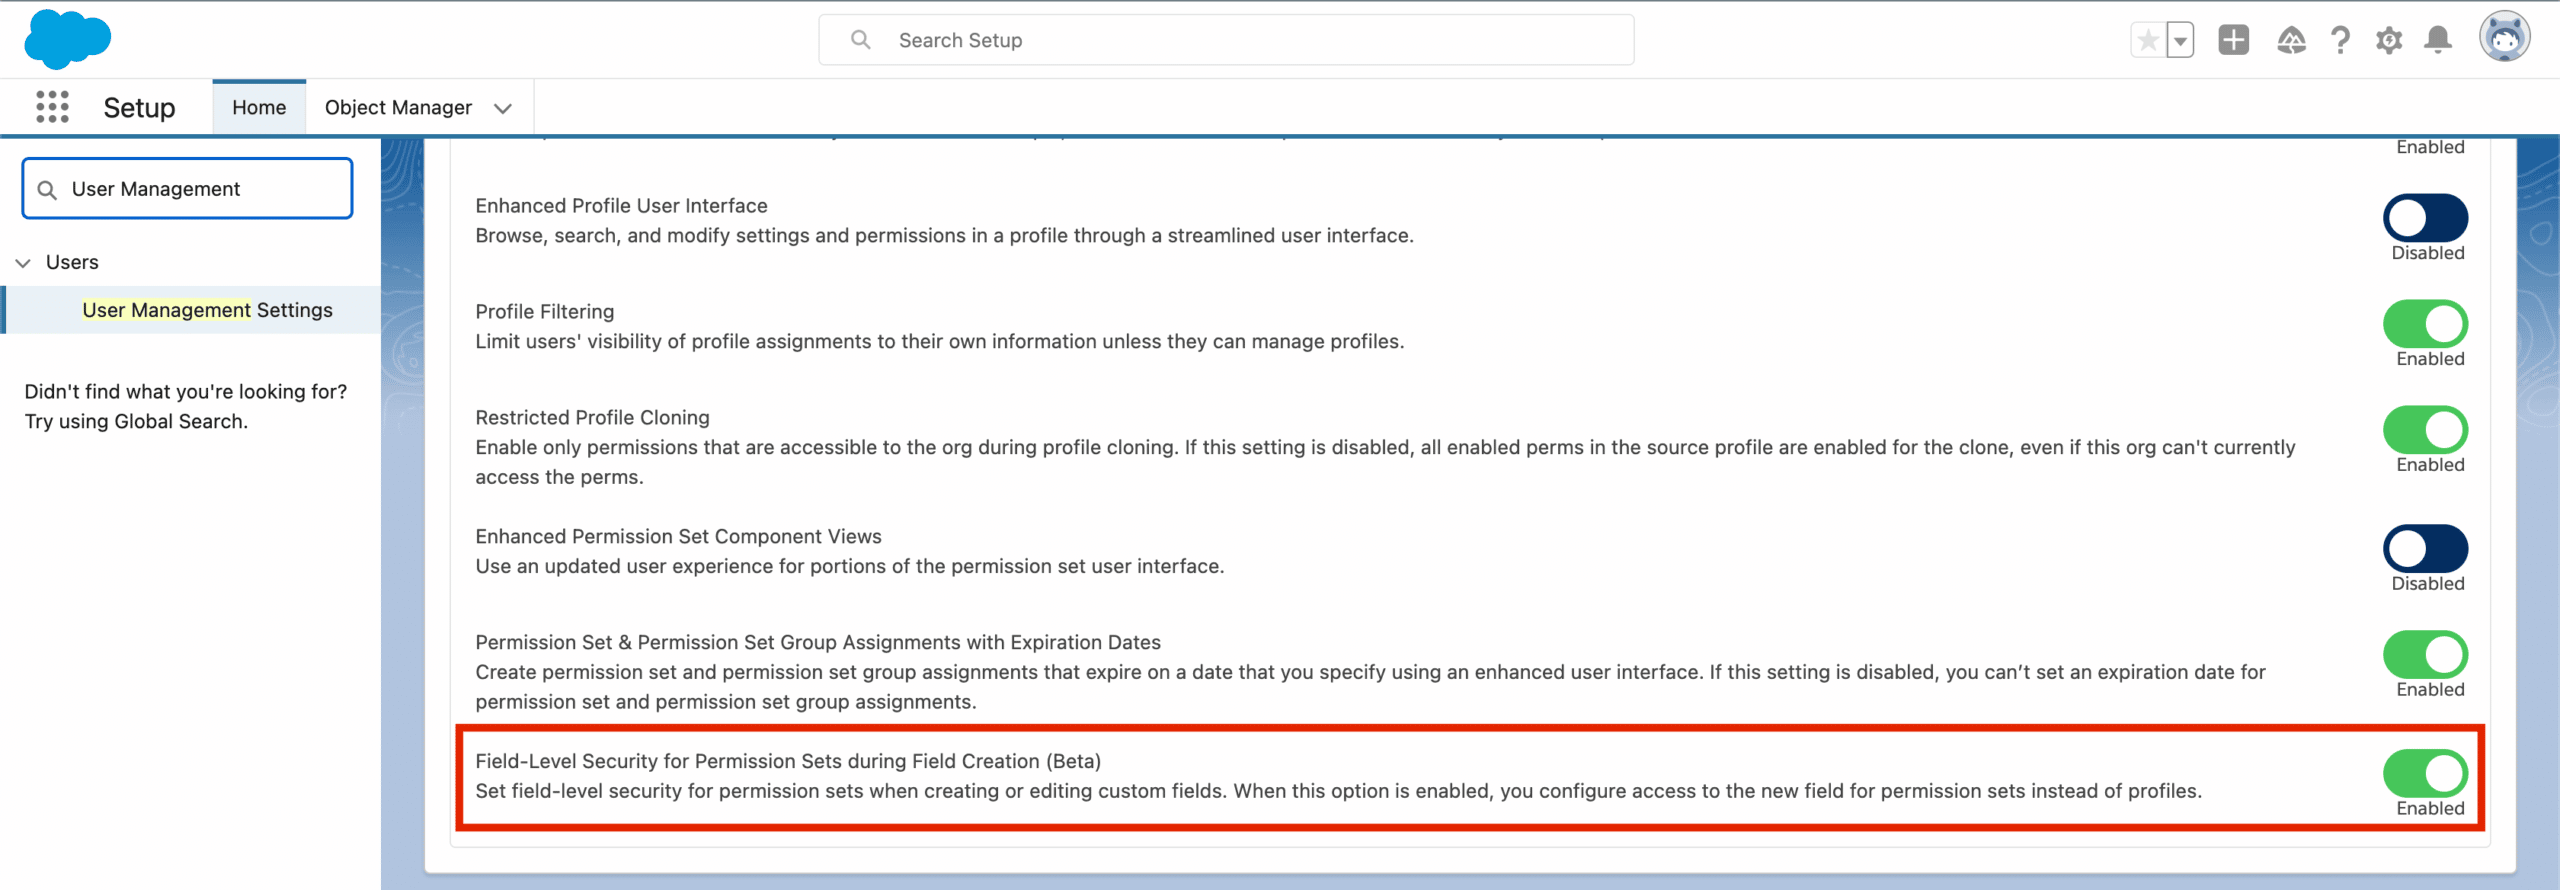
sfdx force:source:retrieve --metadata Settings).config/project-scratch-def.json):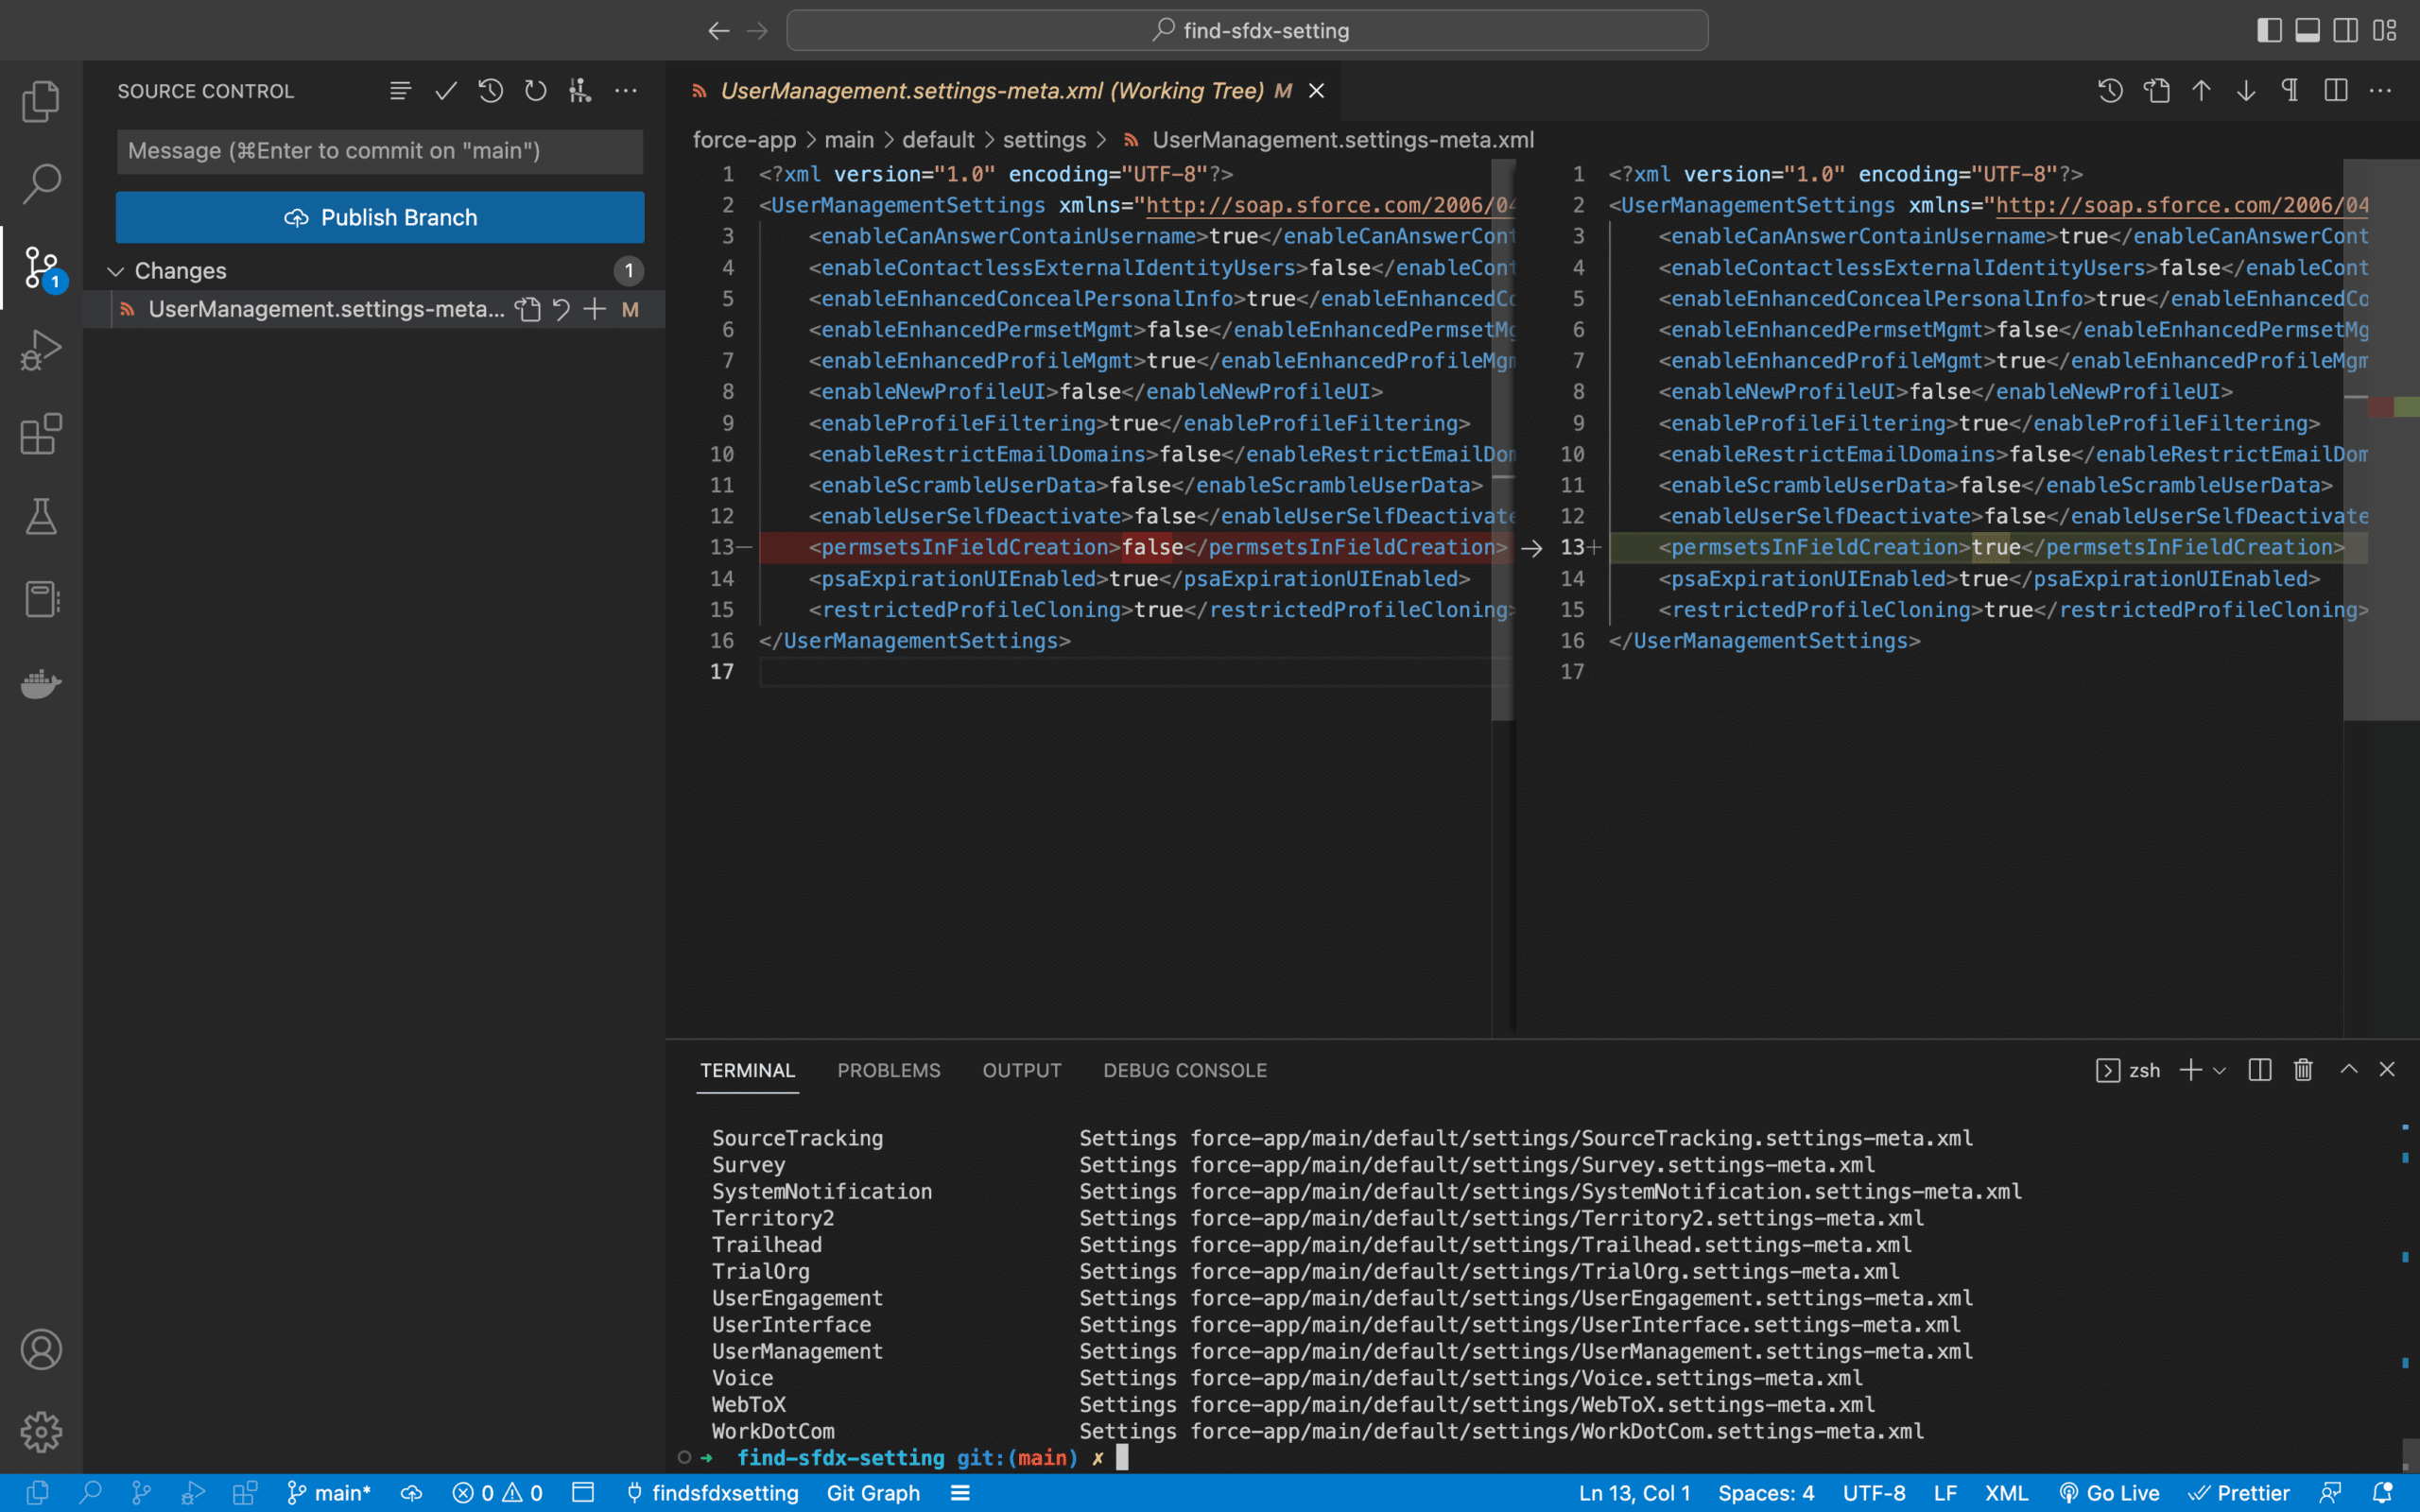
UserManagementSettings/permsetsInFieldCreation.As explained in the documentation, you can use this setting hierarchy as is to update your Scratch Org definition file, just moving it to lower camel case.
Field-Level Security for Permission Sets during Field Creation enabled automatically:


