
Hello Salesforce nation !
Have you ever wondered how you could gather customer data about your performance? Are they satisfied with your service? Will they recommend you to their friends and family? If you have already asked yourself this question, then you’re in the right place!
Transition to Salesforce Survey Functionality
We’ve all been there before wondering how we can send survey to our clients. For a long time, the answer lied in Appexchange with a multitude of third-party application ready to be used. But Appexchange no more! Beginning from Spring 18, Salesforce launched its own survey functionality. So how does it work?
Understanding Survey Basics
First thing you need to know is that Survey are free to use up to 300 surveys responses. Then, you need to start paying. Refer to your Salesforce account manager for more info.
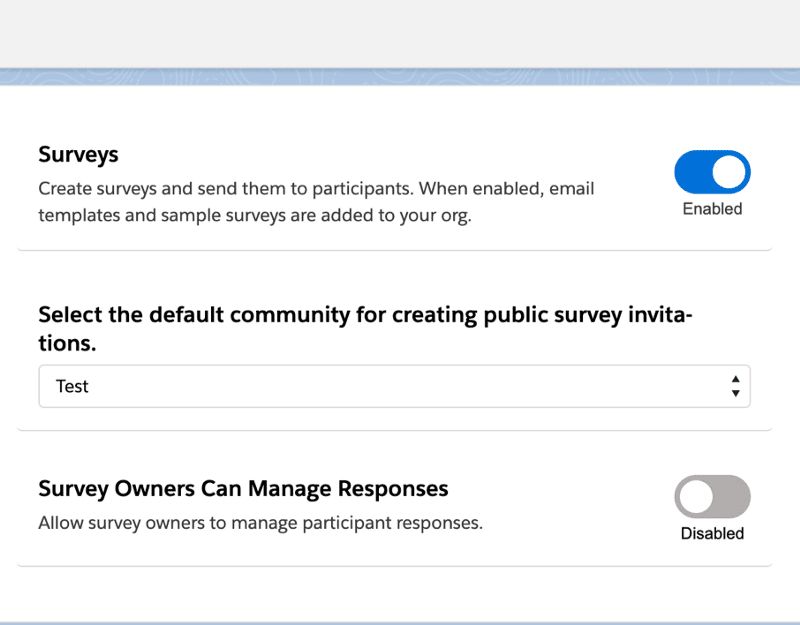
In order to enable Surveys, first you need to go to setup -> Survey -> Survey Settings
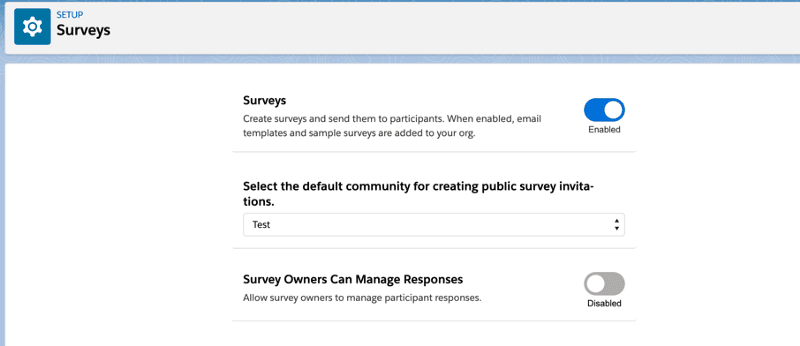
Then you need to enable Surveys. Leave the Default community as none for the moment. We’ll get back to this later.
Then, it’s important to give your profile or permission set (and whoever wants to us survey) the rights to use the survey objects. The objects are Survey, Survey invitation, Survey response, Survey subject.
Navigating the Survey Tab
Once that is done, you could go to the Survey tab by adding it to your application or by clicking on the tab in the app launcher.
You can see that you have two surveys by default, but we can go ahead and create our own.

Creating Surveys with the Survey Builder
Now we reach the survey builder
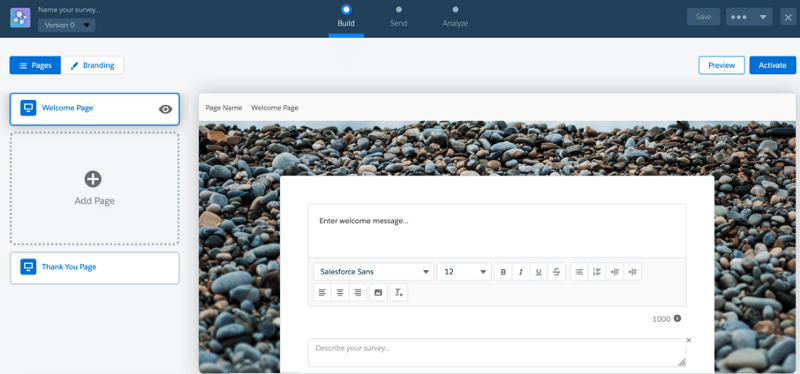
To the left, we have the pages panel where you can add pages with different questions in them. Here you can see that by default, there’s a welcome page and a thank you page.
Let’s add a page.
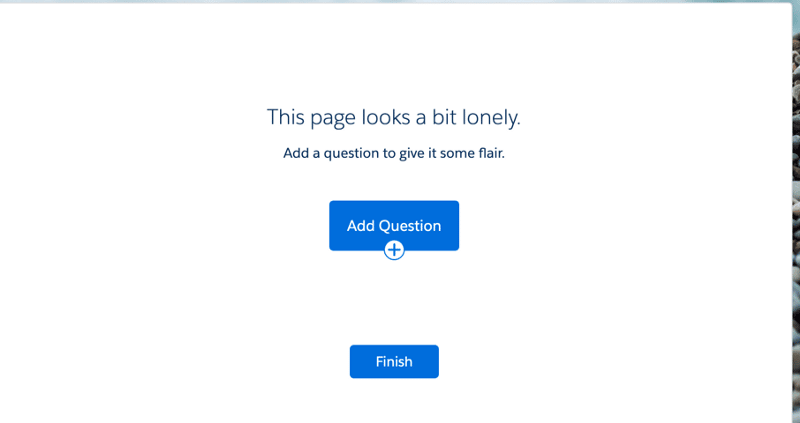
Let’s add a question. We can see that we have many types of questions:
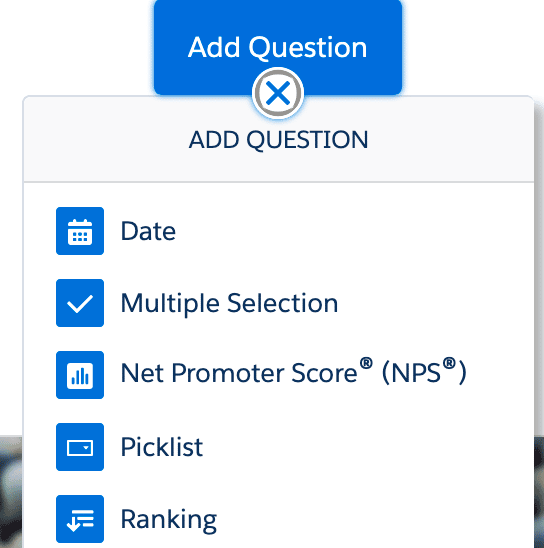
You can choose your desired question type and add the introductory text and the question itself.
You can repeat these steps as much as you want in order to get to a questionnaire that satisfies your requirements.
Customizing Survey Appearance
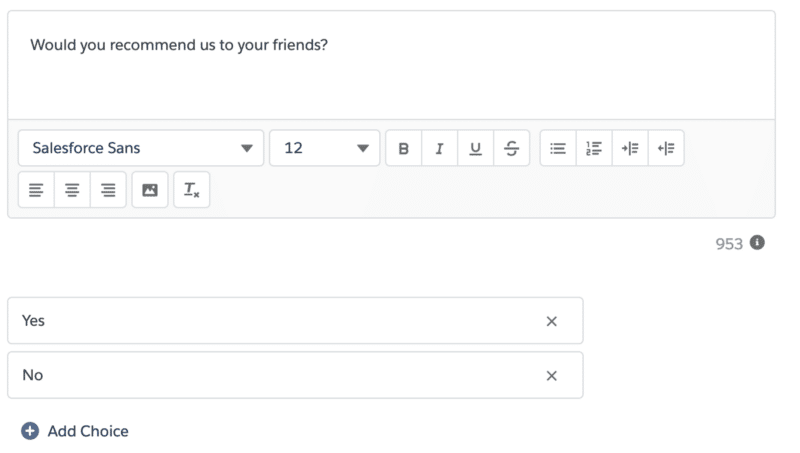
Let’s say we added a question about whether the client would recommend us to their friends by using the picklist question:
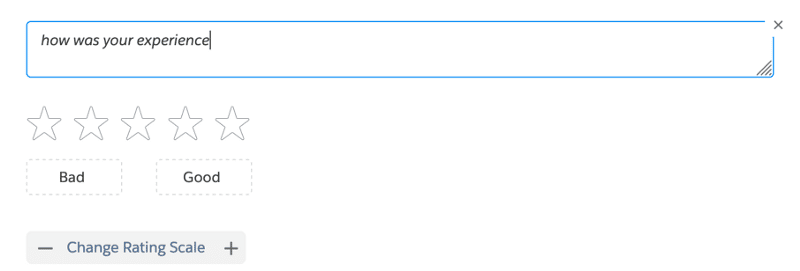
We can also add a rating question
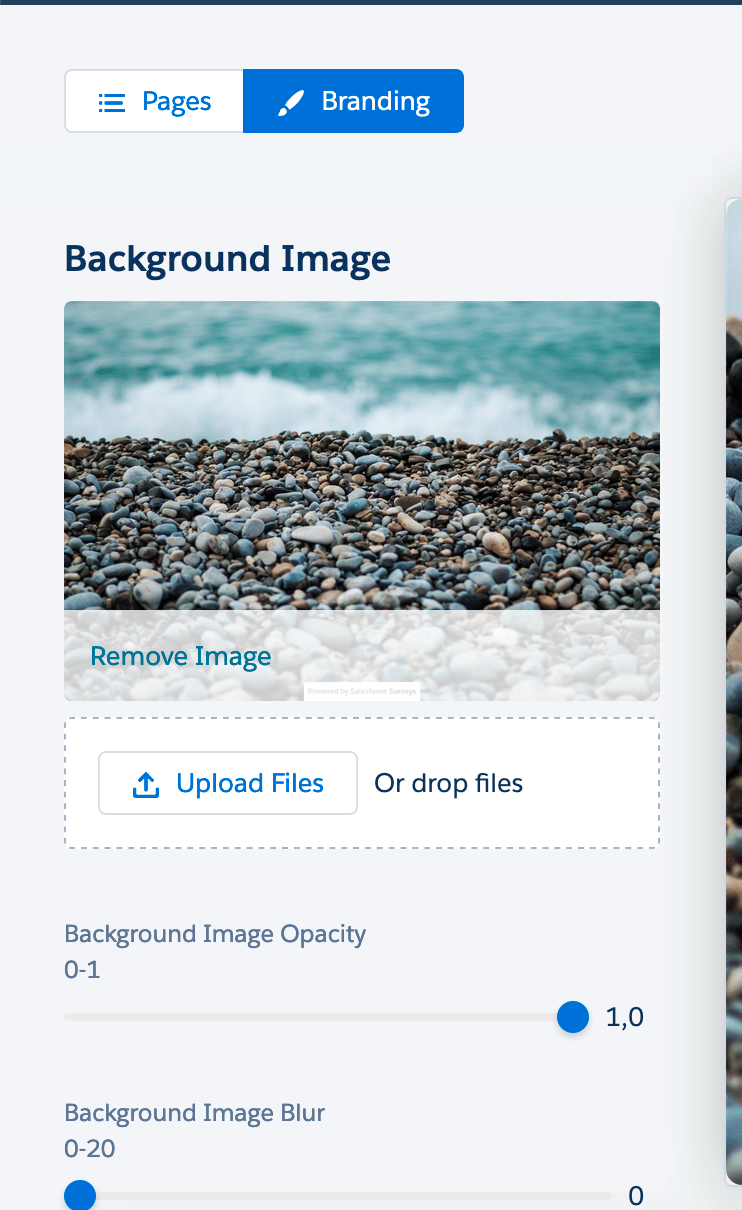
Note that we can also change the branding to add a corporate image, fonts and colors
Let’s say we are satisfied with our survey. We click save then activate.
Ok cool, now we need to send this survey to our customers, right? Let’s click on the send button on the upper side of the survey.
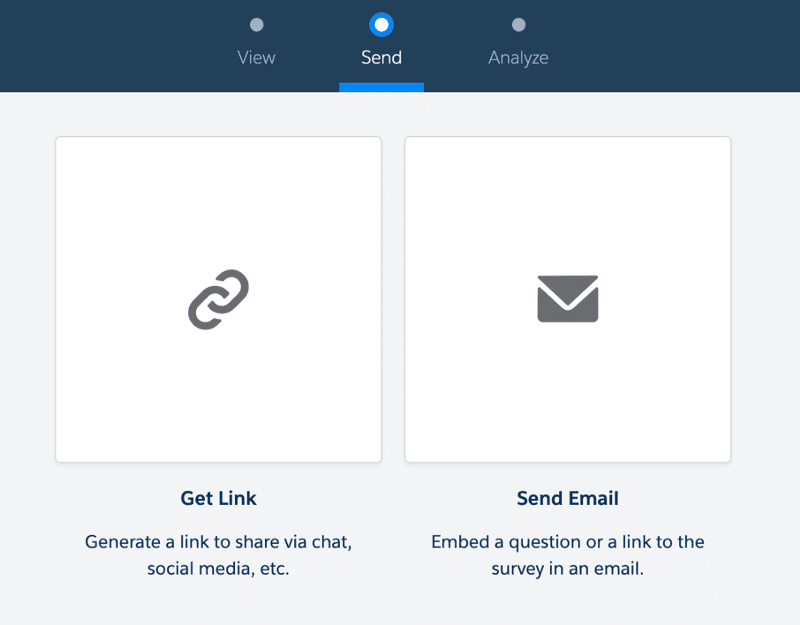
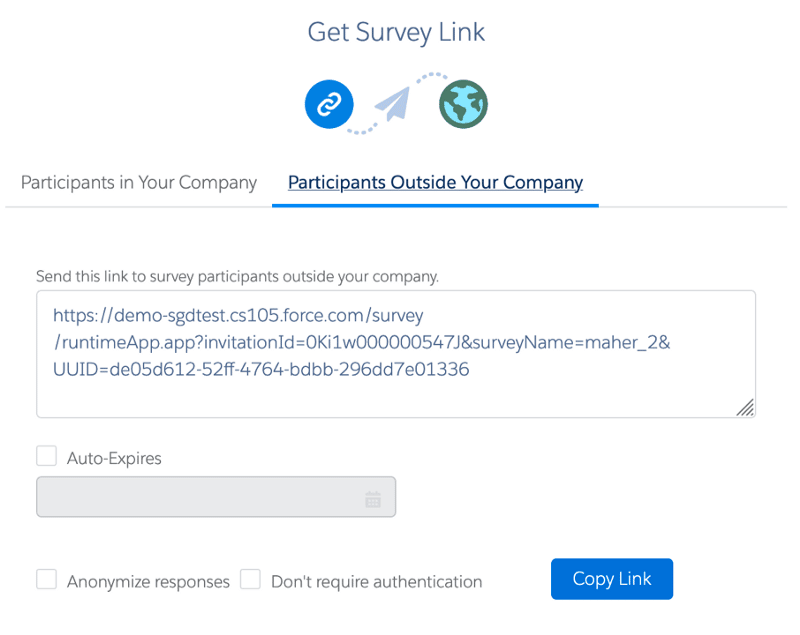
We could either generate a link or send an email. Let’s say we want to generate a link to put it in our email (say using Marketing Cloud).
Note here that we have a link to send to Salesforce internal user but when we click on participants outside your company, it says that we need to create a community.
And this is the part that we talked about in the beginning of the article: the part that we left blank for the moment. In reality, a Salesforce survey user must be a member of a community in order to submit a survey.
So, let’s create or use an already existing community in your org. We’re not going to talk through how to create or use a community in this article.
After creating the community, go back to your survey setting and add the community
Note: don’t forget to add your survey users to this community.
Analyzing Survey Responses
So now if we go back to the survey, we can now grab a link for the outside costumers.
So that’s all great, we can now send surveys to our customers and also analyze the answers using the analyze tool (right next to the send button on the upper side of the survey)
But still, we didn’t attach the survey to a record. A case for example, where we need to analyze the performance of our agents.
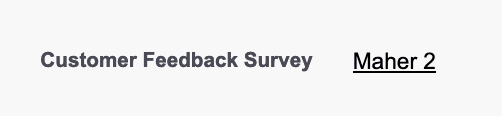
It’s easy to do that: you need to go to support settings and choose the survey as customer feedback survey
Now each time you close a case, this survey will be sent to the contact related to the case (granted that they must be a member of the community). And you can also add the survey invitation related list on the case layout to see the surveys sent to the contact.

Important: this automation may not work in your org, if this happens please open a case for Salesforce support.
Another cool way to automate sending surveys from any type of object, you could use a process builder.
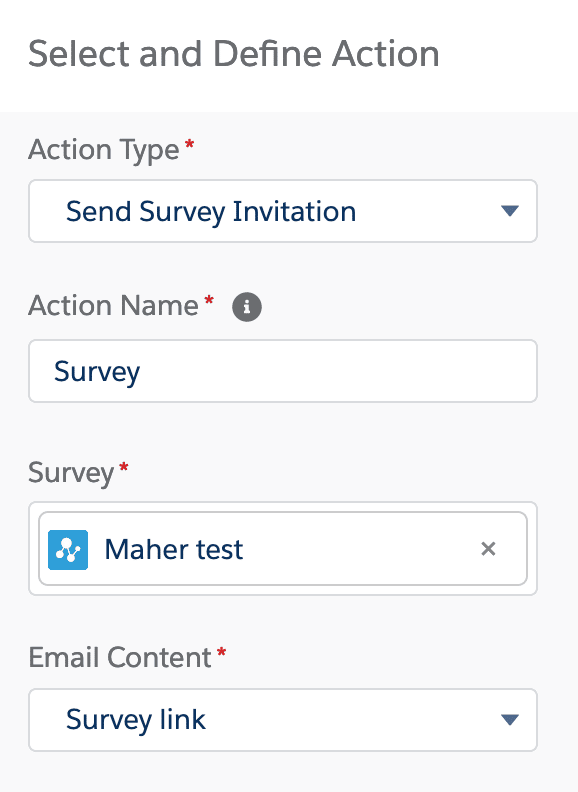
In any process builder, now you have the send survey invitation option
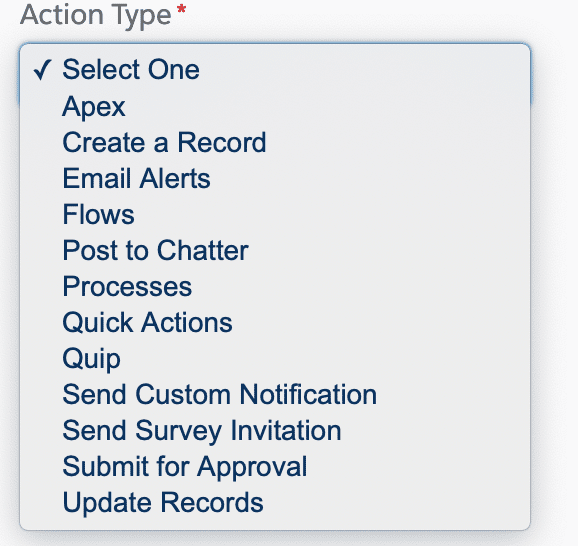
After choosing this option, you can now choose the survey and the email template to go with.
And voilà. We have now automated the survey from any other object. Pretty neat right?
Conclusion
In conclusion, Surveys are a powerful tools to gather sentiment about your company or brand in general and with powerful automation, we can collect data about a specific record whether it’s a case, opportunity..etc and with powerful analyzing tools, Salesforce survey has a complete package to satisfy your needs.
Further reading:
Salesforce help: https://help.salesforce.com/articleView?id=concept_salesforce_surveys.htm&type=5
Survey trailhead: https://trailhead.salesforce.com/fr/content/learn/modules/survey-basics
Survey success group: https://success.salesforce.com/_ui/core/chatter/groups/GroupProfilePage?g=0F93A0000004hf1SAA
Want to continue learning? Check out our article How to send a customer feedback from a case without any automation and follow us on Linkedin!